💡 Pro tip: With iCloud your voice memos will sync across your Apple devices, so can also transcribe your voice memo on your Mac (which has more options)
Turning Your Voice Memo Into Text
Now that you have your voice memo file, let's transcribe it. I will walk you through multiple options to suit your needs.
Using TalkNotes
➡️ Easy, Fast, Cheap, Accurate
We'll start with the easiest and quickest method. TalkNotes offers a seamless experience for transcribing your voice memos:
- Download your voice memo (Tap 'Share', then "Save to Files" and select the "Download" folder)
- Open Talknote and log in to your account.
- Click the "Upload Icon" and add your voice memo, or just record yourself in the app
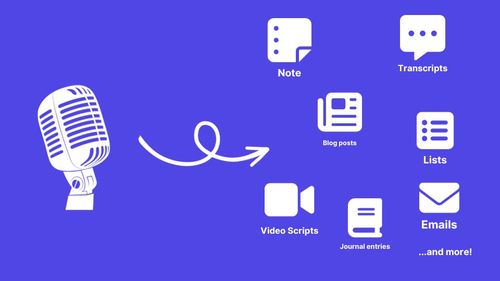
- Pick the style you want for your text (transcript, note, list summary...)
- Click "Transcribe."
That's all there is to it! Your transcript will be ready in just a few minutes!
Manual Transcription
➡️ Easy, Long, Expensive, Accurate
That's the Captain Obvious method, but if you're willing to put in some elbow grease, you can transcribe the voice memo manually. Open your voice memo app on one device, open the Notes app and start playing & pausing the audio as you type what's being said.
If, like me, you're lazy, you could also use a professional service.
There are many websites to hire professionals, but the cheapest based on my experience is Fiverr
This method takes time and money, but you’ll have full control over the transcription process.
Using Siri
➡️ Easy, Fast, Cheap, Not accurate
Another method you can use it to use Siri's built-in dictation features. It will NOT be able to transcribe your past Voice Memos directly, but you can use it to transcribe what you say in real time, so I still included it here.
- Open Siri on your iPhone
- Tell it: "Write a new note" then say what you want to transcribe.
- Open your Note app, and your text will be there
Keep in mind that it won't work well for longer audio, and the result might not be as accurate as Talknotes.
Using Shortcut
➡️ Easy, Fast, Cheap, Not accurate
Again, this will not be able to transcribe past Voice Memos from the app, but can work for real-time recording. Unlike Siri, you can configure it so it doesn't stop when you make a pause when talking.
- Open the "Shortcuts" app on your iPhone
- Tap the "+" button to create a new Shortcut
- Tap "+ Add action"
- Write "Dictate Text" in the search bar
- (optional) Tap on the blue ">" next to it to show options, and set "Stop Listening" to "On Tap"
- Tap the search bar at the bottom of the screen and search for the "Note" app
- Select "Create Note"
- You should see "Create note with Body in Folder". Tap on Body, and select Dictated Text
- Click "Done" at the top of the screen

Your shortcut is done! Tap on it to open the recording screen. Once you're done, it will automatically create a note with your text.
💡 Pro Tip: You can add your shortcut to the home screen by tapping the "Share" icon and "Add to Home Screen"
Conclusion
There you have it! Three different methods to convert your voice memo to text on iPhone. Whether you’re looking for ease, control, or flexibility, one of these methods will surely meet your needs.
We highly recommend using TalkNotes for a hassle-free and accurate transcription. You can try it for free here.
Happy Transcribing!